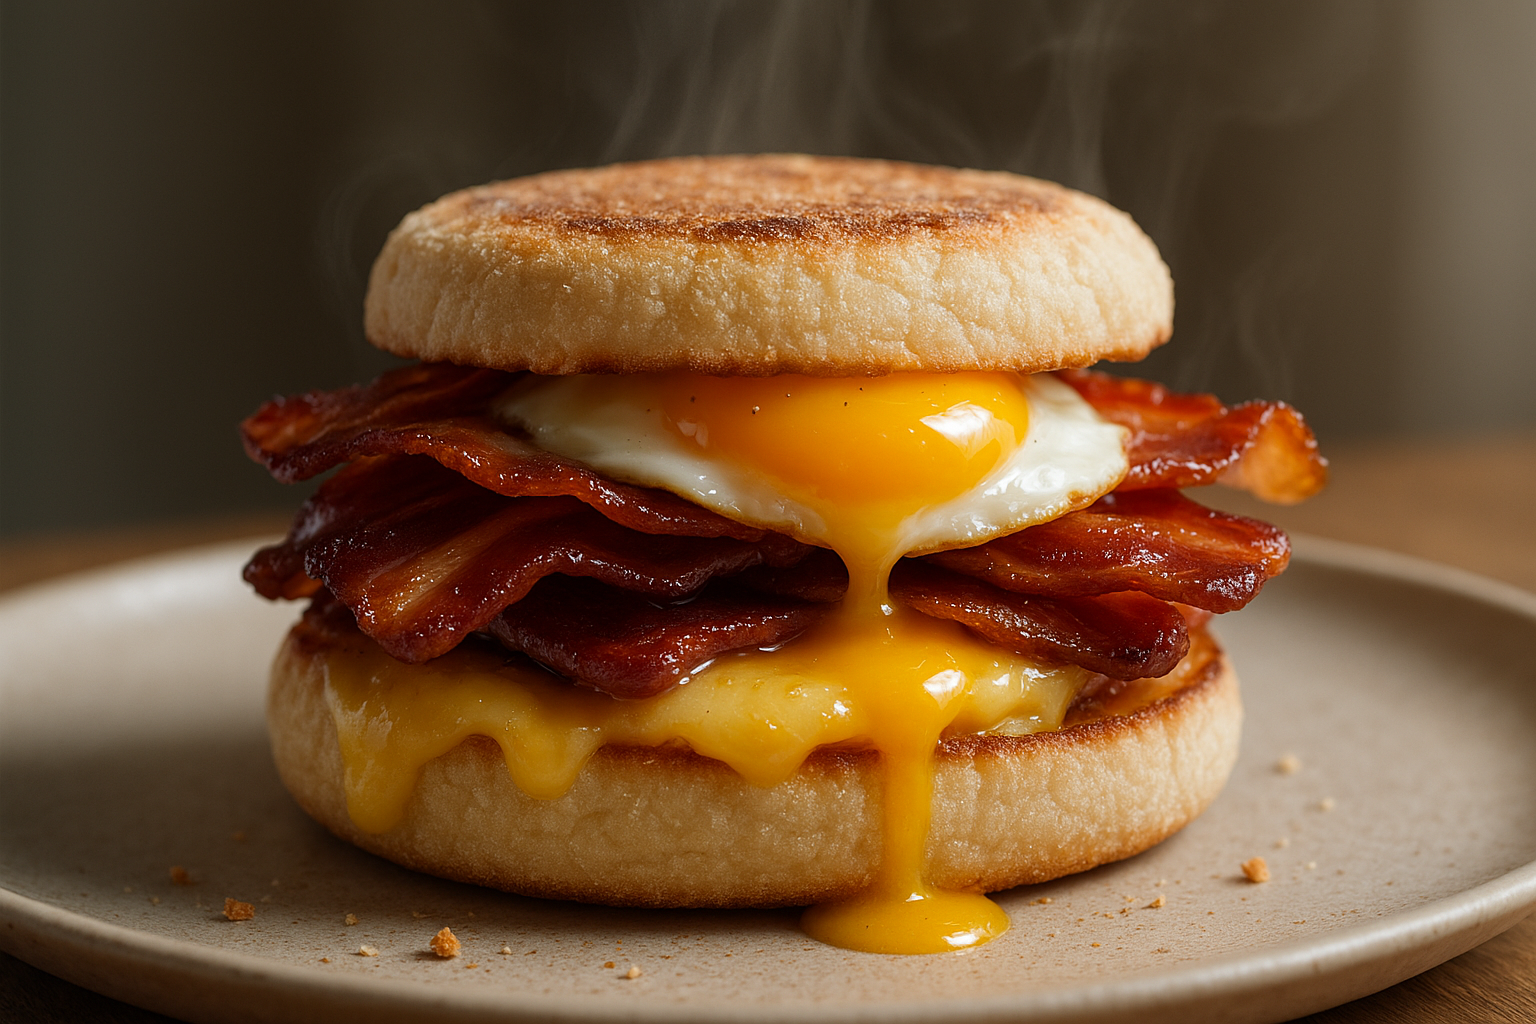
This isn’t breakfast — it’s a hunger demolition device. A golden, toasted muffin layered with deep-crackling smoked streaky bacon, sharp cheddar melting into the warm crumb, and a fried egg with a yolk so runny it should come with a warning. Every bite hits you with heat, crunch, salt, and flow. Forget the plastic breakfast sandwich in a drive-thru bag. This is real food. Real flavour. Real satisfaction. It’s breakfast you cook like you mean it. No shortcuts. No soft options. This muffin doesn’t whisper flavour — it detonates it. Get ready to level up your mornings with a build so bold it should come with a seatbelt.
Ingredients
Serves 1
1 English muffin 2 rashers smoked streaky bacon 1 large free-range egg 1 slice mature cheddar cheese Pinch of fine sea salt
Equipment needed
Non-stick frying pan Fish slice or spatula Bread knife Toaster or grill Serving plate Kitchen paper Small prep board Serrated knife
Step-by-step method
1. Prep the muffin.
Start by slicing the English muffin evenly in half using a serrated knife. Don’t tear it — clean, sharp cuts mean better toasting and even layers later. Lay the two halves face up so they’re ready to go straight into the toaster. Do this first — timing is everything.
2. Toast it right.
Drop the muffin halves into your toaster or place them cut-side-up under a hot grill. Toast for 90 seconds to 2 minutes, depending on heat source. You’re aiming for crisp, golden edges and a lightly browned face. Not burnt. Not pale. The crumb should be dry enough to hold molten cheddar without going soggy, but the base should still retain a bit of softness so the sandwich holds together. Once toasted, set the muffin aside, keeping the cut sides facing up to release steam.
3. Crisp the bacon.
Place a dry non-stick frying pan over medium-high heat. No oil. The bacon brings its own. Once the pan’s hot, lay in the two rashers of smoked streaky bacon flat. Don’t crowd them. Cook undisturbed for 3 minutes. You’ll hear the sizzle, see the fat rendering, and the edges start to curl. Flip with a spatula and cook the second side for another 3 minutes. Look for deep bronze colour, blistered fat, and those unmistakable crispy ripples. Remove and place on a sheet of kitchen paper to drain, keeping them as crisp and dry as possible. That texture is key — limp bacon ruins the build.
4. Use the bacon fat.
Don’t you dare wipe that pan. That bacon fat is flavour gold. Turn the heat down slightly to medium. Let the pan cool for about 30 seconds so you don’t scorch the egg.
5. Fry the egg.
Crack the egg directly into the pan. You should hear a low sizzle, not a scream — that means it’s the right temp. Immediately season with a small pinch of fine sea salt, concentrating it around the white. Let the egg cook, undisturbed, for 90 seconds. You want the white fully set — opaque and just beginning to blister at the edges — but the yolk must stay liquid. Watch the surface closely. If the whites are still jelly-like after 90 seconds, give it 15 more, but don’t overcook. The goal is a soft, hot yolk that breaks like lava.
6. Build the base.
Take the bottom muffin half and place it cut-side-up on a warm plate. While still hot, lay the slice of mature cheddar directly onto the muffin. Use a slice that covers from edge to edge. You want the corners just beginning to melt over the sides. The heat from the muffin will start the melt — no microwave cheating here.
7. Stack the bacon.
Place the two crisp bacon rashers straight over the cheddar. If your rashers are long, fold them slightly to build height. This creates a juicy middle bite and ensures the bacon stays central. The heat from the bacon will accelerate the cheddar melt and soak flavour into the muffin beneath.
8. Crown it with the egg.
Now, with precision, slide the fried egg from the pan onto the bacon. Use a fish slice or spatula and be slow — you do not want to break the yolk. The weight of the egg should rest dead centre, so when it’s bitten into, it floods evenly across the build.
9. Seal the deal.
Place the top half of the muffin on top, cut-side down. Press gently — not hard enough to break the yolk yet, just enough to fuse the layers and trap the heat inside. Let it sit for 30 seconds so everything settles into place. That steam helps finish melting the cheddar and warms the muffin throughout.
10. Serve immediately.
This sandwich waits for no one. Serve on a warm plate with a few sheets of paper towel underneath if you’re going handheld. No sauce. No garnish. This is about purity of flavour and pure satisfaction.
Serving tips
Pair with a strong mug of black coffee or a tart, freshly squeezed orange juice to cut through the richness. If you’re feeling bold, add a swipe of English mustard under the cheddar for heat, or a few drops of hot sauce on the egg before sealing the lid. Want to serve it brunch-style? Plate it with a knife through the middle and a small rocket salad on the side — but keep it simple. Let the muffin shine.
Chef’s notes
Bacon choice matters. Always go for smoked streaky bacon — the fat-to-meat ratio gives the best crisp and deepest flavour. Unsure about quality? Look for dark red rashers with good marbling.
Egg timing is everything. Overcook it and you lose the signature run. Underdo it and you risk slime. You want a firm, clean white and a yolk that oozes like butter.
Cheddar strength is critical. Use mature or extra mature cheddar. A milder cheese will melt, yes, but it won’t punch through the fat. Sharpness cuts the richness and binds everything together.
Scaling up? Make four at once by grilling all muffin halves in the oven and baking bacon on a rack at 200°C (fan) for 15 minutes. Use a larger frying pan or two to cook multiple eggs side by side. Just don’t stack and rest too long — these need to be served hot and fresh.
Customisation? Add a grilled tomato slice between the cheddar and bacon for sweetness. Swap bacon for grilled halloumi or avocado for a vegetarian version. Gluten-free? Use a GF English muffin and double-check your cheddar label.
Batch prep advice. You can toast muffins ahead and crisp bacon in bulk. Store bacon in paper towels in an airtight container. Reheat in a dry pan to crisp. Eggs must always be cooked to order.
For elite control: warm the plate before you start. Use tongs for stacking the bacon. Slice the muffin using a sawing motion. And never, ever use pre-grated cheese — it won’t melt properly due to anti-caking agents.
Final thought
This isn’t a breakfast, it’s a ritual. One crack of the yolk and you’ve got molten centre stage, cheddar sliding, bacon snapping, muffin holding its structure like a pro. Every layer engineered for punch, contrast, and flow. It’s what fast food wishes it could be. You made it yourself. You did it properly. You’re not just cooking — you’re commanding the kitchen. Now eat it before someone else tries to.
Health stats (per serving)
Each bacon and egg muffin delivers roughly 1,730kJ (415kcal) of energy, with 28g of fat, 12g of saturates, 1.3g of sugars, and 1.5g of salt. It contains around 26g of carbohydrates, 21g of protein, and 1.2g of fibre. It’s high in satisfaction and delivers long-lasting fuel, especially when paired with black coffee or a strong breakfast tea.
Disclaimer
Every effort has been made to ensure the accuracy and clarity of this recipe. However, all individuals are responsible for verifying the ingredients, techniques, and methods they use. Always check packaging labels for the most up-to-date information regarding allergens, cross-contamination risks, and suitability for specific dietary needs, including gluten-free, nut-free, dairy-free, vegetarian, or vegan requirements.
Nutritional information provided is estimated for guidance only and may vary depending on portion size, specific brands, or substitutions used. It should not be relied upon as medical or nutritional advice. If you have any allergies, intolerances, medical conditions, or dietary concerns, consult a qualified health professional before preparing or consuming any recipe on this site.
By following this recipe, you acknowledge that you do so at your own risk. The site, its writers, and contributors are not liable for any adverse reactions, ingredient misinterpretations, or accidents in the preparation or consumption of any dishes.
For full details, please refer to the site’s complete disclaimer and terms of use.
Leave a Reply
You must be logged in to post a comment.