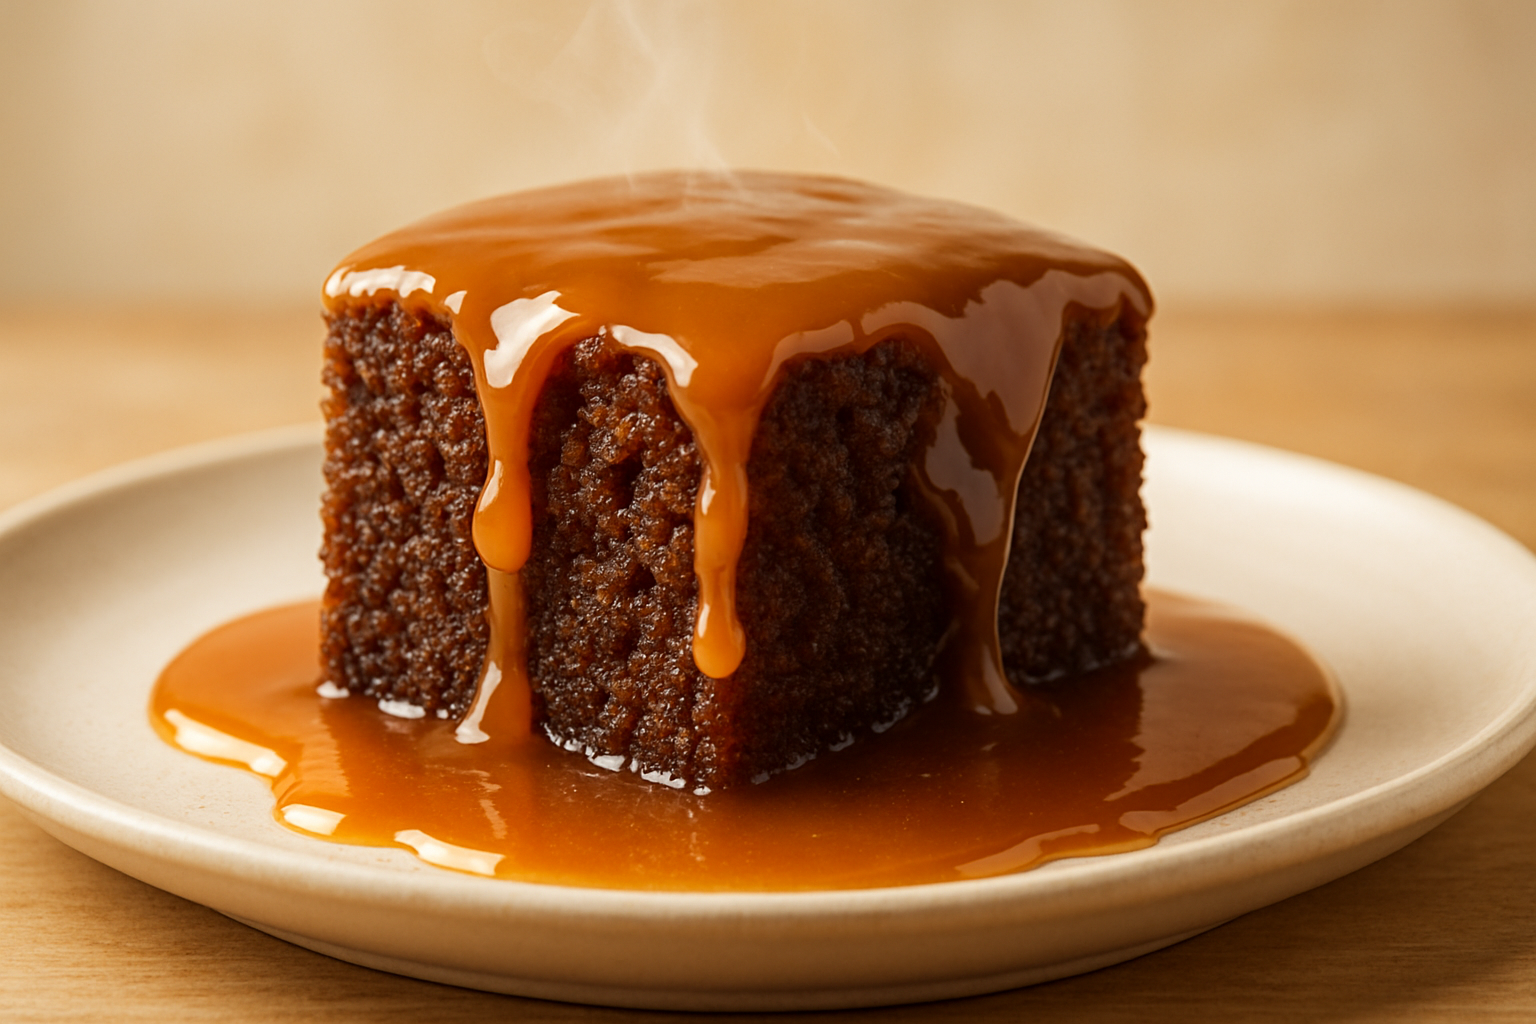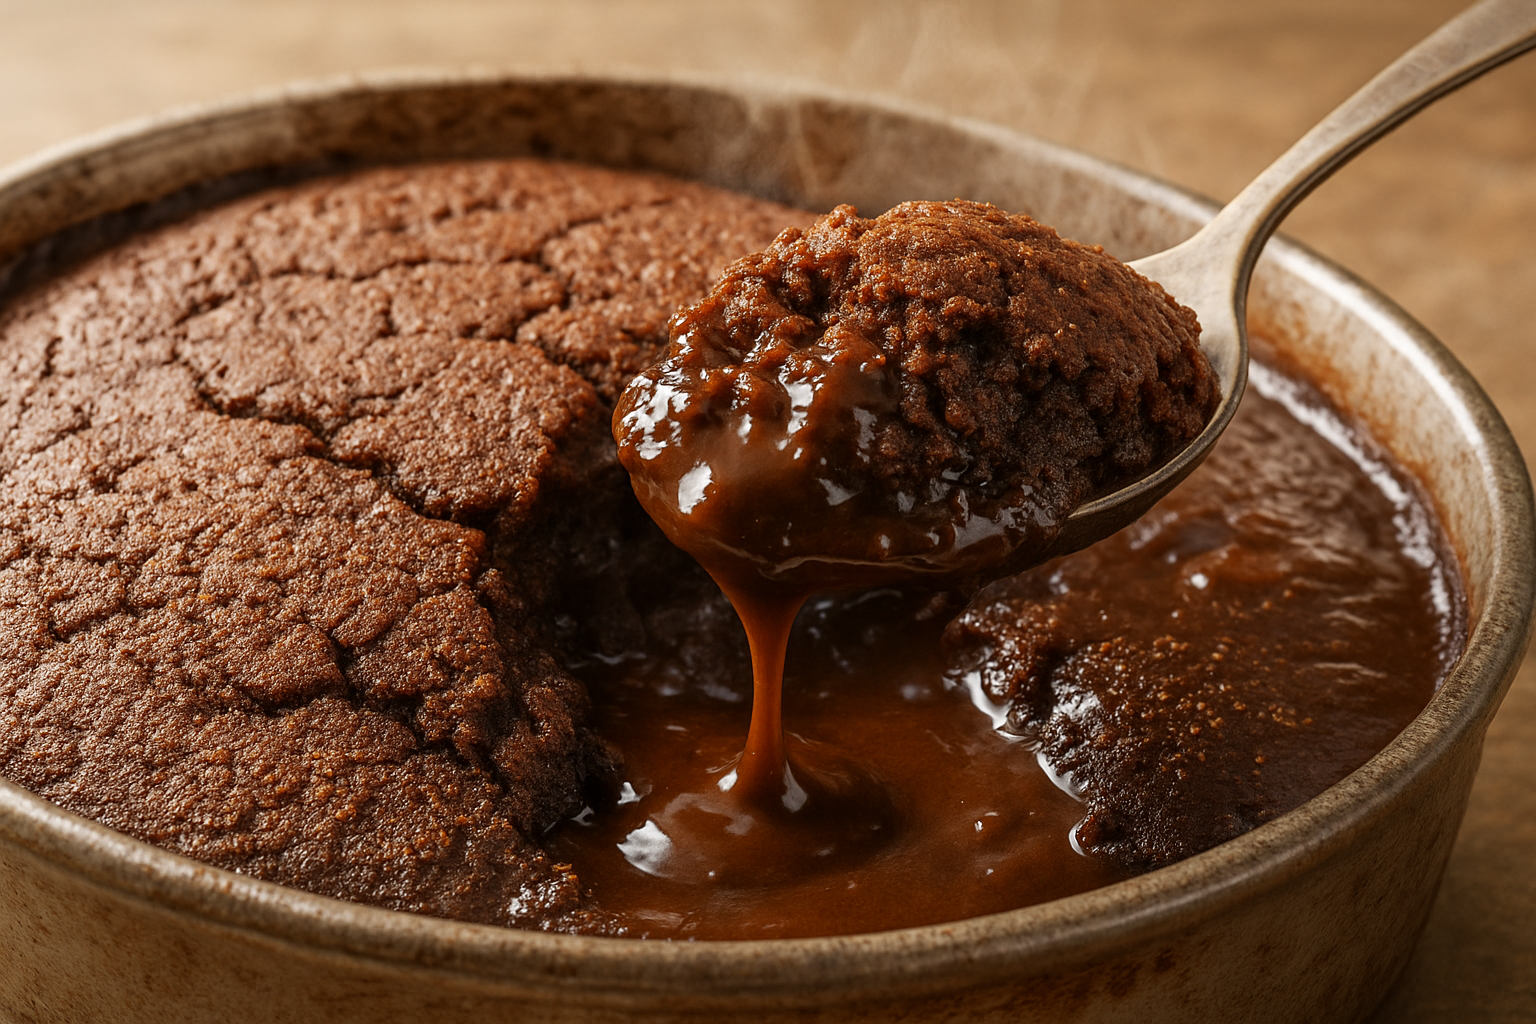
This pudding doesn’t whisper. It erupts. Hot, fudgy, and unapologetically gooey, this chocolate self-saucing pudding is dessert with a dark side. It arrives soft and spongy on top — innocent enough — but plunge your spoon through the surface and it gives way to a river of hot chocolate sauce that oozes like molten lava. It’s rich, it’s messy, and it tastes like you’ve broken every rule and been rewarded for it. This isn’t cake and custard — it’s chocolate therapy baked in a dish. And it doesn’t just satisfy your sweet tooth — it seduces it.
Perfect for cold nights, broken diets, or anyone teetering on the edge of self-control, this is one dessert you’ll want to keep secret — if only to avoid sharing. Let’s get into it.
Ingredients
Serves 6
175g self-raising flour 30g cocoa powder (plus 2 tbsp extra for the topping) 100g caster sugar 125ml whole milk 50g unsalted butter, melted 1 large egg, beaten 1 tsp vanilla extract 100g soft light brown sugar 250ml boiling water
Equipment needed
Large mixing bowl Whisk 1.5-litre baking dish Kettle Measuring jug Sieve Wooden spoon or spatula Oven preheated to 180°C (160°C fan)
Step-by-step method
1. Preheat and prepare the dish
Set your oven to 180°C (or 160°C fan) and grease a medium-sized baking dish with butter. You want at least a 1.5-litre capacity — anything smaller and it’ll bubble over like chocolate Vesuvius.
2. Mix the dry ingredients
In a large mixing bowl, sift together 175g self-raising flour and 30g cocoa powder. Stir in 100g caster sugar. This base gives your pudding structure — light from the self-raising flour and deep, earthy richness from the cocoa. Use a sieve — no clumps allowed.
3. Add the wet ingredients
Pour in 125ml whole milk, 50g melted unsalted butter, 1 beaten egg, and a teaspoon of vanilla extract. Whisk it all until smooth and glossy — no lumps, no pockets of flour. The batter should look thick but pourable, with a dark, rich chocolate sheen.
4. Pour into the baking dish
Scrape the batter into the greased baking dish and level it with a spatula. It may not look like much yet, but trust the process — the real magic happens in the oven.
5. Make the dry topping
In a separate bowl, mix 100g soft light brown sugar with 2 tablespoons of cocoa powder. This may seem strange, scattering dry sugar on top of a wet batter, but stay with it. It’s this layer that will slowly melt and sink as the pudding bakes, creating the glossy, hot chocolate sauce hidden underneath.
6. Scatter the topping evenly
Sprinkle the brown sugar and cocoa mixture over the surface of the batter, spreading it evenly to cover the entire top. Don’t press it in — just let it sit there like a trap.
7. Pour the boiling water
Now comes the moment that feels all kinds of wrong — but is exactly right. Boil 250ml of water and pour it gently over the back of a spoon held just above the pudding surface. This softens the flow, allowing the hot water to settle gently over the sugar layer without disturbing it.
The surface will look like muddy soup. That’s perfect. Do not stir. Do not panic. The heat will work its magic and invert the layers during baking.
8. Bake to transform
Slide the dish into the oven and bake for 35 minutes. As it bakes, the sponge will rise to the top while the sugar and water sink and thicken into a glossy, sticky sauce beneath. It’s culinary alchemy. At 35 minutes, the top should be firm, slightly cracked, and springy to the touch — but underneath, it’s all liquid decadence.
9. Rest before serving
Let it sit for 5 minutes out of the oven before serving. The sauce needs a moment to thicken slightly, and the sponge will settle. Don’t skip this step unless you’re aiming for chocolate soup (which honestly, also delicious).
10. Serve immediately
Scoop generous portions into bowls, making sure to dig deep so you get a good amount of sauce with each spoonful. Serve as-is, or go nuclear with vanilla ice cream or cold double cream on top.
Serving tips
This pudding begs for contrast — hot and cold, soft and sharp. A scoop of vanilla ice cream on top melts into the sauce and becomes part of the experience. Cold double cream poured over the hot sponge? Divine. Want it richer? Add dark chocolate chunks into the batter before baking for pockets of molten chocolate inside the sponge.
If you’re serving guests, hit each portion with a light dusting of icing sugar just before serving. Add fresh raspberries or a few shards of dark chocolate for drama and bitterness.
Chef’s notes
Technique tip:
Pouring the water over the back of a spoon is crucial. Dumping it straight in will tear the batter and you’ll lose the layered effect. Patience equals payoff.
Make ahead:
You can prepare the batter and toppings ahead and store the dish in the fridge (covered) for up to 12 hours. Add the hot water and bake when ready.
Customise it:
Try adding a tablespoon of espresso to the batter for mocha depth. Or spike the boiling water with a shot of dark rum or whisky for a boozy kick. Want a crunch? Scatter chopped hazelnuts or pecans into the batter.
Go vegan:
Swap the butter for a plant-based alternative, use a flax egg (1 tbsp ground flax + 3 tbsp water), and opt for a plant-based milk. Use vegan chocolate chips for extra richness.
Scale it:
Double everything for a party-sized tray bake. Or halve it and bake in individual ramekins for two — just reduce the baking time to 20–25 minutes.
Final thought
This isn’t some dainty dessert that leaves you wanting more — it is more. It’s the kind of pudding you make when you’ve had a long day, a hard week, or you just want to feel like you’ve committed an edible sin. It’s rich, it’s runny, and it doesn’t ask for forgiveness. It demands a spoon and silence. Make it once, and it’ll haunt your cravings forever.
Health stats (per serving)
Each serving contains an estimated 1540kJ (368kcal), 15g fat, 9g saturates, 30g sugars, 0.6g salt, 48g carbohydrates, 6g protein, and 2g fibre.
Disclaimer
Every effort has been made to ensure the accuracy and clarity of this recipe. However, all individuals are responsible for verifying the ingredients, techniques, and methods they use. Always check packaging labels for the most up-to-date information regarding allergens, cross-contamination risks, and suitability for specific dietary needs, including gluten-free, nut-free, dairy-free, vegetarian, or vegan requirements.
Nutritional information provided is estimated for guidance only and may vary depending on portion size, specific brands, or substitutions used. It should not be relied upon as medical or nutritional advice. If you have any allergies, intolerances, medical conditions, or dietary concerns, consult a qualified health professional before preparing or consuming any recipe on this site.
By following this recipe, you acknowledge that you do so at your own risk. The site, its writers, and contributors are not liable for any adverse reactions, ingredient misinterpretations, or accidents in the preparation or consumption of any dishes.
For full details, please refer to the site’s complete disclaimer and terms of use.